Using CustomShader In UE4.22
Preface
I’ve found a good article about how to write a custom shader in UE4 yesterday.
Unreal Engine 4 Custom Shaders Tutorial: https://www.raywenderlich.com/57-unreal-engine-4-custom-shaders-tutorial
The article has been made based on UE4.19 and was not working on UE4.22. Because default shader folder has been changed. Therefore it is good to write it down how to do that on UE 4.22.
Workflow
- Follow tutorial from
Unreal Engine 4 Custom Shaders Tutorial - You will fail when loading
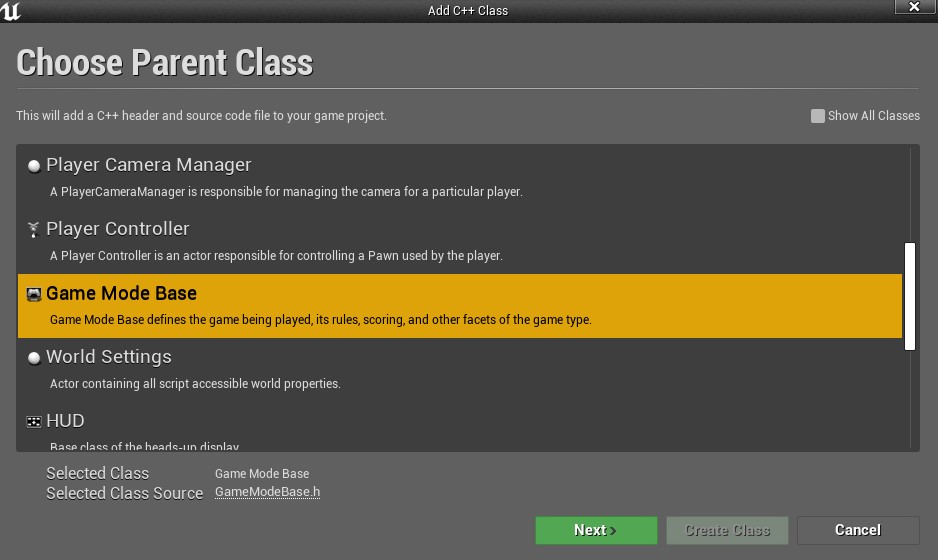
.usffile from the folder. Now we need to create C++ GameMode. Right click on content view.
New C++ Class->Noneand create class.(We will delete later)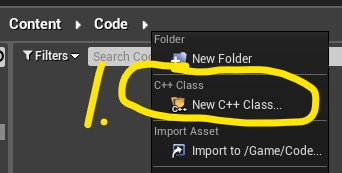
Open Visual Studio 2017.
Delete
MyClass.cppandMyClass.hWe will modify
${YourProjectName}.cppand${YourProjectName}.h. In this document, it isTestGround.cppandTestGround.hChange
TestGround.h// Fill out your copyright notice in the Description page of Project Settings. #pragma once #include "CoreMinimal.h" #include "ModuleManager.h" class FTestGroundModule: public IModuleInterface { public: virtual void StartupModule() override; virtual void ShutdownModule() override; };Change
TestGround.cpp// Fill out your copyright notice in the Description page of Project Settings. #include "TestGround.h" #include "Modules/ModuleManager.h" void FTestGroundModule::StartupModule() { #if (ENGINE_MINOR_VERSION >= 21) FString ShaderDirectory = FPaths::Combine(FPaths::ProjectDir(), TEXT("Shaders")); AddShaderSourceDirectoryMapping("/Project", ShaderDirectory); #endif } void FTestGroundModule::ShutdownModule() { } IMPLEMENT_PRIMARY_GAME_MODULE( FTestGroundModule, TestGround, "TestGround" );Delete
MyClass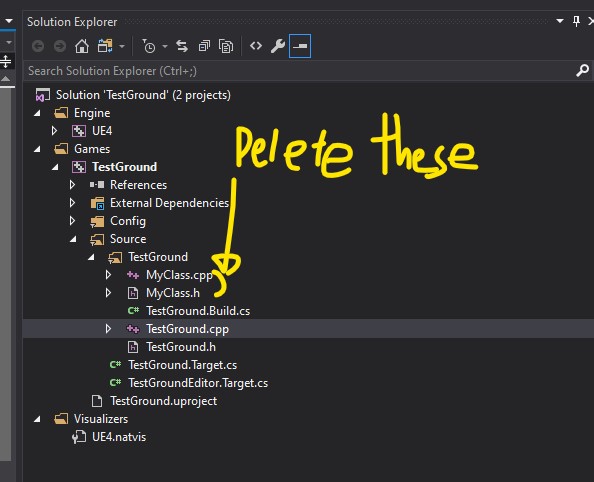
End. Now you are able to load your
.usffile from/YourProject/Shadersfolder.